Fitting Instructions RSJ Covers
** Download our RSJ Fitting Instructions pdf, Click Here **
1. Measure the area you are covering to make sure the beam will fit.
2. Mark out the wooden blocks inside the RSJ by drawing pencil lines on the ceiling.
3. Cut one side of the beam square with a handsaw.
4. Measure from the straight end that has been cut, to the desired length and cut the other side allowing an extra 1/4 inch off the measurement to allow the beam to be placed in position.
5. Test the beam to see if it fits and cut again accordingly if it does not.
6. Place a good quality no more nails on the inside of the beam every 12 inches on each side, slightly overlapping the ceiling edge of the beam.
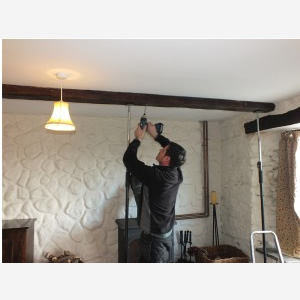
7. Re-fit the beam using supporting props to keep in position.
8. Screw through the beam into the blocks using the pencil lines on the ceiling as guides making sure the screws are countersunk 2 millimetre maximum,(pre- drill holes first).
9. Mix the filler provided,a small amount at a time to the consistency of decorators filler to fill in the gaps with a filling knife or small tool and wipe off with a warm sponge after approximately 15 minutes.(It is important that you do not let the filler dry and you do not rub the beams colour,just the filled areas only).
10. After the filler has totally dried, which will take another 30 minutes, brush over the filled areas with watered down p.v.a glue, leave to dry then apply colouring solution also over the filled areas with a brush (use a warm sponge to work in if necessary) and leave to dry.
11. Allow around another 30 minutes for this to dry, dependent on the room temperature and apply the liquid wax
(one or two coats).
Your replica oak beams are now complete and will settle into a permanent colour over the next few days.

